In our last blog post, we looked at how the new AppStudio 5 Container control could be used to create your own controls. Today, we discuss how the Container can be used to group controls.
There are a few reason to do this:
- Controls in a Container can be moved around by moving just the Container
- Controls can be logically combined in groups.
- Controls can be visually linked by drawing a border around them.
- Controls can be grouped together for Responsive Design purposes.
Let’s see how this is done:
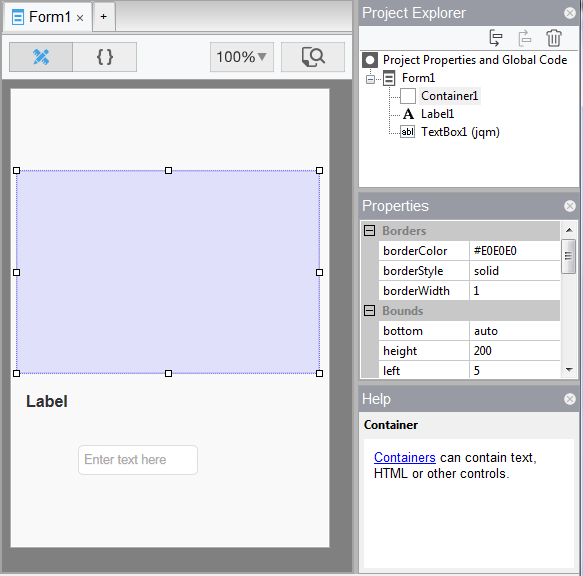
Start a new project with some labels and input fields. First, add a Container, a Label and a Textbox.
Select Container1 and right click on it. Choose ‘Add Child’. A list of possible children is displayed. Choose Label1.
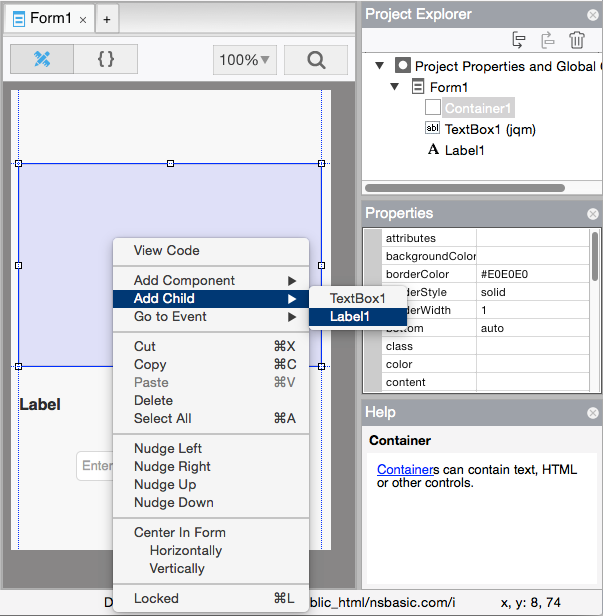
Do the same with TextBox1. Your Design Screen should now look like this:
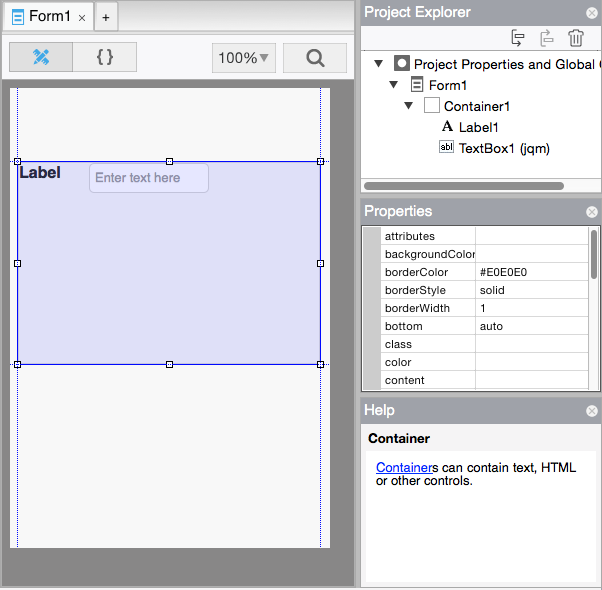
AppStudio makes some changes to the styling of Label1 and TextBox1 when it adds them to the container, so they will be well behaved responsive elements:
- The left and top properties are changed to ‘initial’, which lets them flow to where the browser sends them.
- The style property has the string “float:left;” added to it. This makes the controls float to the left as far as possible.
- Label1 floats to the left margin.
- TextBox1 floats to the left until it hits Label1.
If you would prefer to use fixed positioning, change the ‘position’ property of the Container to ‘absolute’. You can then position the children by setting their top and left properties in the Property Window.
In the Project Explorer, notice how the Label and the TextBox are now within the Container?
To remove a child from a Container, do a right click and choose ‘Remove Child’. The control will remain on the form, but not in the Container. It will have to be positioned again in the Form.